Top10VPN is editorially independent. We may earn commissions if you buy a VPN via our links.
How to Set Up a Home VPN Server
In This Guide
If you don’t want to subscribe to a commercial VPN service, you can set up your own VPN server at home with a router, a personal computer, or a VPS rented from a Cloud Service Provider. Our guide explains the most straightforward methods for creating a home VPN.

If you want to build your own VPN from scratch, you can set up a VPN server at home following our instructions.
By creating your own home VPN server, you’ll be able to securely access your home network remotely. It does require some technical knowledge to set up, though.
Truthfully, setting up a home VPN server can be challenging. You must have reasonable technical know-how and you must update it regularly otherwise you’ll be putting your data and internet security at risk.
If you’re new to VPNs, we suggest using one of our recommended commercial VPN services, instead. They’re trustworthy, reliable, and have apps for most devices.
There are also good free VPNs available, and excellent cheap VPNs that don’t cost much per month.
Set Up Dynamic Domain Name Server (DDNS)
There are four main ways to set up your own VPN server at home but, before you choose the right one for you, you should check if your home network is assigned a static or dynamic public IP address by your ISP.
Static IP addresses always remain the same, while dynamic IPs change from time to time.
If you have a dynamic IP address, we recommend setting up DDNS (Dynamic Domain Name System). DDNS is a service that maps internet domain names to IP addresses.
Simply put, it gives your ever-changing IP address a fixed and memorable domain name.
DDNS is helpful when you set up your own VPN server at home because it will save you from having to re-configure the VPN each time your public IP address changes.
To find out how to set up DDNS on your router, look for instructions on your router manufacturer’s website.
Now let’s look at the four ways you can set up your own VPN server at home:
Method 1: Buy a VPN Router
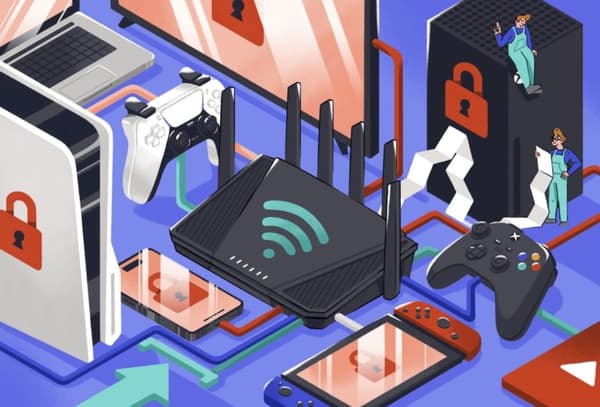
The easiest and safest way to create your own VPN at home is to buy a router that comes with built-in VPN server capabilities.
These routers can get expensive, though – sometimes upwards of $100.00 (standard routers can be as cheap as $25.00).
That’s roughly the same price as yearly (and multi-year) subscription plans to some of the best VPNs on the market.
Before you buy a router, make sure it supports your preferred VPN protocol. We recommend using the OpenVPN protocol for its balance between privacy and performance.

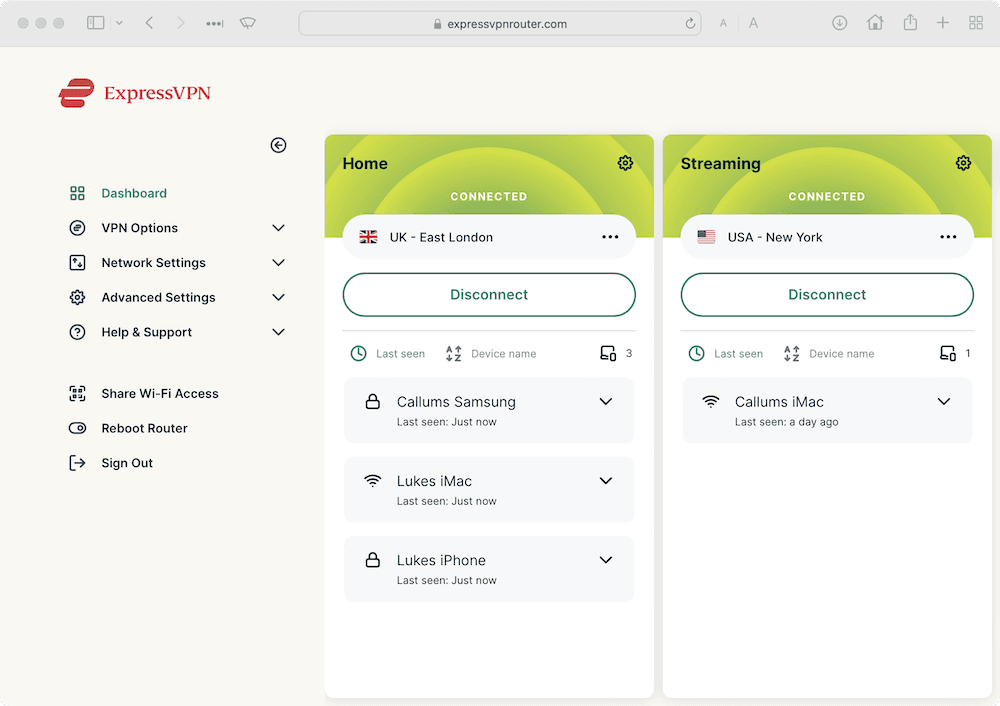
ExpressVPN is one of the only VPNs to have an app for routers.
Unlike many third-party VPNs, you can’t easily toggle between different VPN protocols on a router.
To set up your home router as a VPN server:
- Open up your preferred browser.
- Enter your router’s LAN (internal) IP address into the search bar. Generally, manufacturers give routers either of the following IP addresses: 192.168.0.1 or 192.168.1.1. If neither of those are your router’s IP address, follow these instructions in order to find out what it is.
- Enter the router’s username and password. If you haven’t already changed this, both parts will probably be ‘admin’.
- Go into Settings (or Advanced Settings) > VPN Service.
- Enable the VPN Service.
- Make sure that you allow clients using the VPN connection to access all sites on the internet and home network.
- Confirm these settings by clicking ‘Apply’.
Now set up your VPN client – that’s the device you will be using to connect to the VPN.
- Download the configuration files for your VPN clients (devices like Windows, macOS, and smartphones) from the router’s control panel.
- Unzip the files and copy them over (wirelessly or using a USB cable) to the VPN client folder on the device you wish to connect to the VPN.
- Connect to the VPN (away from your home network) and test for any leaks.
- Troubleshoot any issues with the VPN – these could be server or client-related.
EXPERT ADVICE: An even simpler option is to buy a pre-configured VPN router. We recommend using ExpressVPN, the best VPN for routers. Remember, you’ll also need an ExpressVPN subscription.
Method 2: Flash Your Current router (DD-WRT, OpenWRT, or Tomato Firmware)
Firmware such as DD-WRT replaces the operating system on your router’s flash memory – a process called ‘flashing’. The firmwares listed above support the creation of VPN servers on the router.
Be aware that this method of setting up a home VPN server is riskier, as it has greater room for error and security flaws compared to buying a router with built-in VPN server support.
To create a VPN this way, you must first flash your current router to work with a third-party firmware.

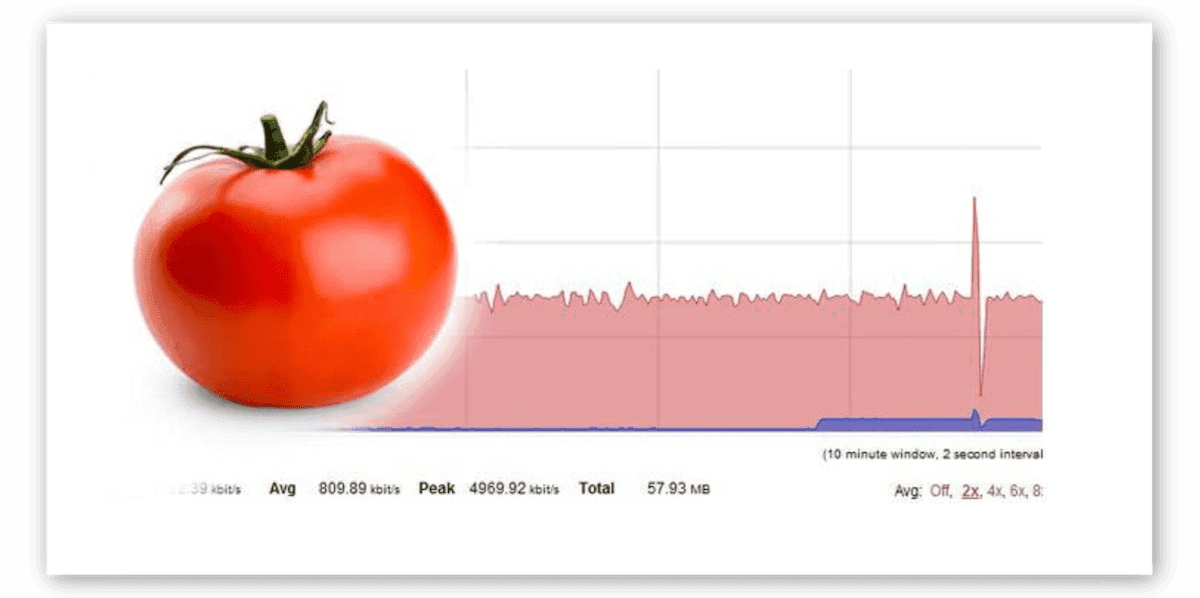
Tomato is an open-source, VPN-enabled firmware for routers.
After that you have to input a series of commands on the flashed router to create a VPN server and then configure the device you wish to use as the VPN client.
There’s a lot of room for error, which could ultimately compromise your online security and privacy.
It’s essential to do research before you flash your router because doing so on a device that doesn’t support the firmware could break (or ‘brick’) your router.
You can check if your current router supports DD-WRT firmware on the DD-WRT supported routers database.
Here’s how to flash your router:
- Check if your router supports DD-WRT, OpenWRT, or Tomato firmware. Alternatively, you can buy routers that come pre-flashed with the firmware.
- Download the compatible firmware file to your computer.
- Plug your router into a power socket and then plug one end of an ethernet cable into one of the LAN ports and the other end into the LAN port of your computer.
- Open up your chosen web browser on your computer and enter your router’s internal IP address. Most routers are set to 192.168.1.1 or 192.168.0.1.
- Log into your router’s control panel and find the router update or upgrade section within the settings menu.
- Flash your router with the firmware by following the device-specific instructions that you will find on the provider’s website. Every router is different and getting the flashing process wrong can break it.
- Restart your newly flashed router and log into the control panel once more.
Now that the router is setup with the correct firmware, you can create the VPN server:
- Click on the wireless tab within the router’s web interface.
- Find the VPN tab or settings menu and enable OpenVPN.
- Now it’s time to set up your VPN server and VPN clients. This step involves running a lot of commands in order to set up the VPN correctly – it’s not for beginners. You should follow the detailed instructions for your chosen firmware closely: DD-WRT, OpenWRT, or Tomato. Even a single mistake could brick your router.
Here is a summary of how to set up your VPN server and VPN clients:
- Change the firewall settings so that your router allows the inbound VPN connection.
- Generate a Certificate Authority. This will enable the server and client to communicate with each other securely, encrypting internet traffic.
- Generate the server’s private key and certificate pair.
- Install and configure OpenVPN.
- Generate VPN client profiles (private keys and certificate pairs) for each device you want to connect to the VPN.
- Extract the client profiles and import them to your clients (devices).
- Configure each client using the generated configuration files.
- Connect to the VPN from your client.
- Test the VPN to check that everything is working as it should be. Follow the instructions on our leak testing guide.
- Troubleshoot any issues and leaks.
If you want your router to act as a VPN client, rather than a VPN server as shown above, read our guide on how to install a VPN on a router.
Method 3: Use Other Devices as VPN Servers
If you don’t have an OpenVPN-compatible router and you don’t want to buy one, you can host a VPN server on another device such as your Windows computer or macOS device but, like flashing a router, it’s a complex process.
Bear in mind that the device used as the VPN server needs to be switched on at all times.
If the device is turned off (or crashes), you won’t be able to connect through the VPN, which is a big problem if you’re far away from home and unable to switch it back on.
Before making the VPN server you will need to set up port forwarding on your router so that the server will be accessible from the internet.
Our instructions for changing your NAT Type cover accessing and setting up port forwarding on your router.
We’ll teach you how to set up a Windows device, as well as macOS and Raspberry Pi.
If you’re a Linux user, you can save yourself a great deal of effort and use one of the full-GUI VPNs for Linux we recommend here.
How to Turn Your Windows 10 Computer Into a VPN Server
Microsoft Windows has a built-in function for hosting VPN servers, but it uses the out-dated and insecure VPN protocol PPTP.
Instead, we recommend that you set up an OpenVPN server using OpenVPN’s software.
You can find detailed instructions for setting up an OpenVPN server on your Windows device, including commands, on OpenVPN’s website.
Here are the basics of setting up a VPN server on Windows:
- Change firewall settings to allow inbound connections and set up port forwarding.
- Download OpenVPN for Windows to your computer.
- Install OpenVPN and ensure that the ‘EasyRSA’ box is checked on the ‘Choose Components’ section of the installation.
- Install the TAP drivers when prompted.
- Configure EasyRSA – this is a tool used to create certificate authorities, and request and sign certificates.
- Generate the Certificate authority and VPN server certificates.
- Build client certificates – the client is the device you will use to connect to the VPN server (e.g. your smartphone).
- Create configuration files for the VPN server and VPN clients.
- Configure each VPN client with the generated files.
- Connect to the VPN server from the client device.
- As always, test your VPN for leaks to ensure that your connection is secure.
Now you can connect to your Windows VPN server while you’re out and about.
How to Turn Your macOS or Raspberry Pi Computer Into a VPN Server
Since macOS doesn’t natively support OpenVPN, you’ll need to use third-party software such as Tunnelblick or Homebrew in order to set up a VPN server on your device.
Once you’ve set up either Tunnelblick or Homebrew with OpenVPN, it’s much the same as setting up a VPN server on Windows.
If you’re looking for a less cumbersome device to use as a VPN server, you can set one up on a Raspberry Pi.
Read PiMyLifeUp’s step-by-step guide to setting up a VPN server on a Raspberry Pi using an install script called PiVPN.
Method 4: Rent a Virtual Private Server (VPS)
There’s one more way to set up a VPN server that falls in between configuring your home router and using a commercial VPN service. To set up a VPN this way, you’ll need to rent a server from a cloud service provider (CSP).
You can rent a virtual private server (VPS) from companies like DigitalOcean, Scaleway, or Amazon Web Services.
Unlike maintaining a VPN server in your home, renting a VPS costs money – around the same monthly price as a quality VPN service.
You also have to entrust all your internet traffic to the hosting company, which may or may not store your personal information. Is that really better than leaving it with your ISP?
While this method won’t allow you to access your local network while away from home, you can rent a server in pretty much any country you’d like, which means you’ll be able to access geo-specific content from that country.
Setting up the VPN server is similar to configuring your router at home, so make sure to follow the instructions from your hosting company’s website carefully.
Here are DigitalOcean’s instructions for setting up an OpenVPN server.
Should I Set Up A Home VPN Server?

There are a few reasons you might want to set up a VPN server at home.
Firstly, if you need to access your local network while out and about, setting up your own VPN server at home is a good idea.
Hosting a VPN server in your home means that you can access files from your local network and stream Netflix or access other geo-restricted services while abroad.
If set up correctly, connecting to your own VPN while using public WiFi will help protect you from hackers looking to steal your personal information. The VPN encrypts internet traffic between the client and the server.
You also know who owns the servers you’re using. This should make it more transparent as to what data and information being logged and stored.
But setting up your own VPN server at home isn’t always recommended.
Disadvantages of Creating a Home VPN Server
The vast majority of people should not set up their own VPN server at home. The odds are that you’ll be better off using a trusted, safe VPN service, like ExpressVPN.
If your internet connection suffers from slow upload bandwidth, creating your own VPN server isn’t worth the effort – it’ll just slow down your service even more, including downloads.
Self-built VPN servers also require meticulous setup and technical know-how to make sure that they aren’t vulnerable to security flaws.
What’s more, a home-based VPN is not an online privacy tool – at least, not totally.
Since it only encrypts internet traffic between the VPN client and the VPN server (your home router or computer), your ISP – and any third party that has access to the data your ISP collects – is still able to see everything you do online.
In contrast, top-tier VPN services will protect your online privacy, and will automatically keep up to date with the latest security patches.
The best VPNs don’t collect any of your personal information.
VPN providers often have VPN servers in dozens of locations globally, unlike a home VPN which only assigns you the IP address of your home network.
With a commercial VPN service you can connect to servers all over the world in order to access geo-restricted content.
Using ready-made (commercial) VPN servers allow you to stream, torrent, and browse in privacy, with effortless setup.
Using a third-party VPN service will most likely give you better speeds than a self-made server too.
Is It Free to Set Up A Home VPN Server?
It’s possible to set up your own VPN server for free, but it depends on how you set up the VPN server.
If you want to set up a home-made VPN server on a router you might need to buy new hardware if your current router doesn’t support OpenVPN.
Routers with built-in VPN server capabilities can cost upwards of $100.00.
It’s a similar story for cloud-based servers. You’ll have to pay a monthly cost to rent them from a third-party provider.
However, if you want to set up a VPN server on a router or device you already own, such as a Windows computer, it’s completely free.
If you’re not comfortable setting up a VPN server at home – it’s a pretty tricky process – and you don’t want to spend money on a commercial VPN, take a look at the best free VPN services.
VPN Server vs VPN Client: What’s the Difference?
In this guide we have talked about setting up a VPN server, but we also touch upon VPN clients.
So, what’s the difference between the two?
Both a VPN server and a VPN client are required to create an encrypted VPN tunnel.
The VPN server is at one end of the tunnel, and the VPN client at the other.

The VPN client initiates the connection with the VPN server and authenticates itself before being granted access to the virtual private network.
While VPN servers can accept connections from many clients, a VPN client can only establish a connection with just one server at a time.
You install VPN client software on the device that you want to connect to the VPN server.
For example, on your Android smartphone that you want to use securely on public WiFi while out and about.
Internet traffic from the VPN client device (e.g. your Android smartphone) is routed through the encrypted VPN tunnel to the VPN server, whether that’s a server you have set up at home, or one belonging to a VPN service provider.
The VPN server enables hosting and delivery of the VPN service, and also masks the VPN client’s IP address with one of its own.
So, if you connect to a VPN server located in your home, your web activity will be associated with the public IP address of your home network, even though you’re not physically located there yourself.
In this guide we showed you how to set up a VPN server at home, but if you need help setting up your device as a VPN client, check out our VPN installation guides.


