How to Set Up a VPN Extension in Chrome
We’ve used ExpressVPN as an example, but the process is near-identical for all VPN extensions.
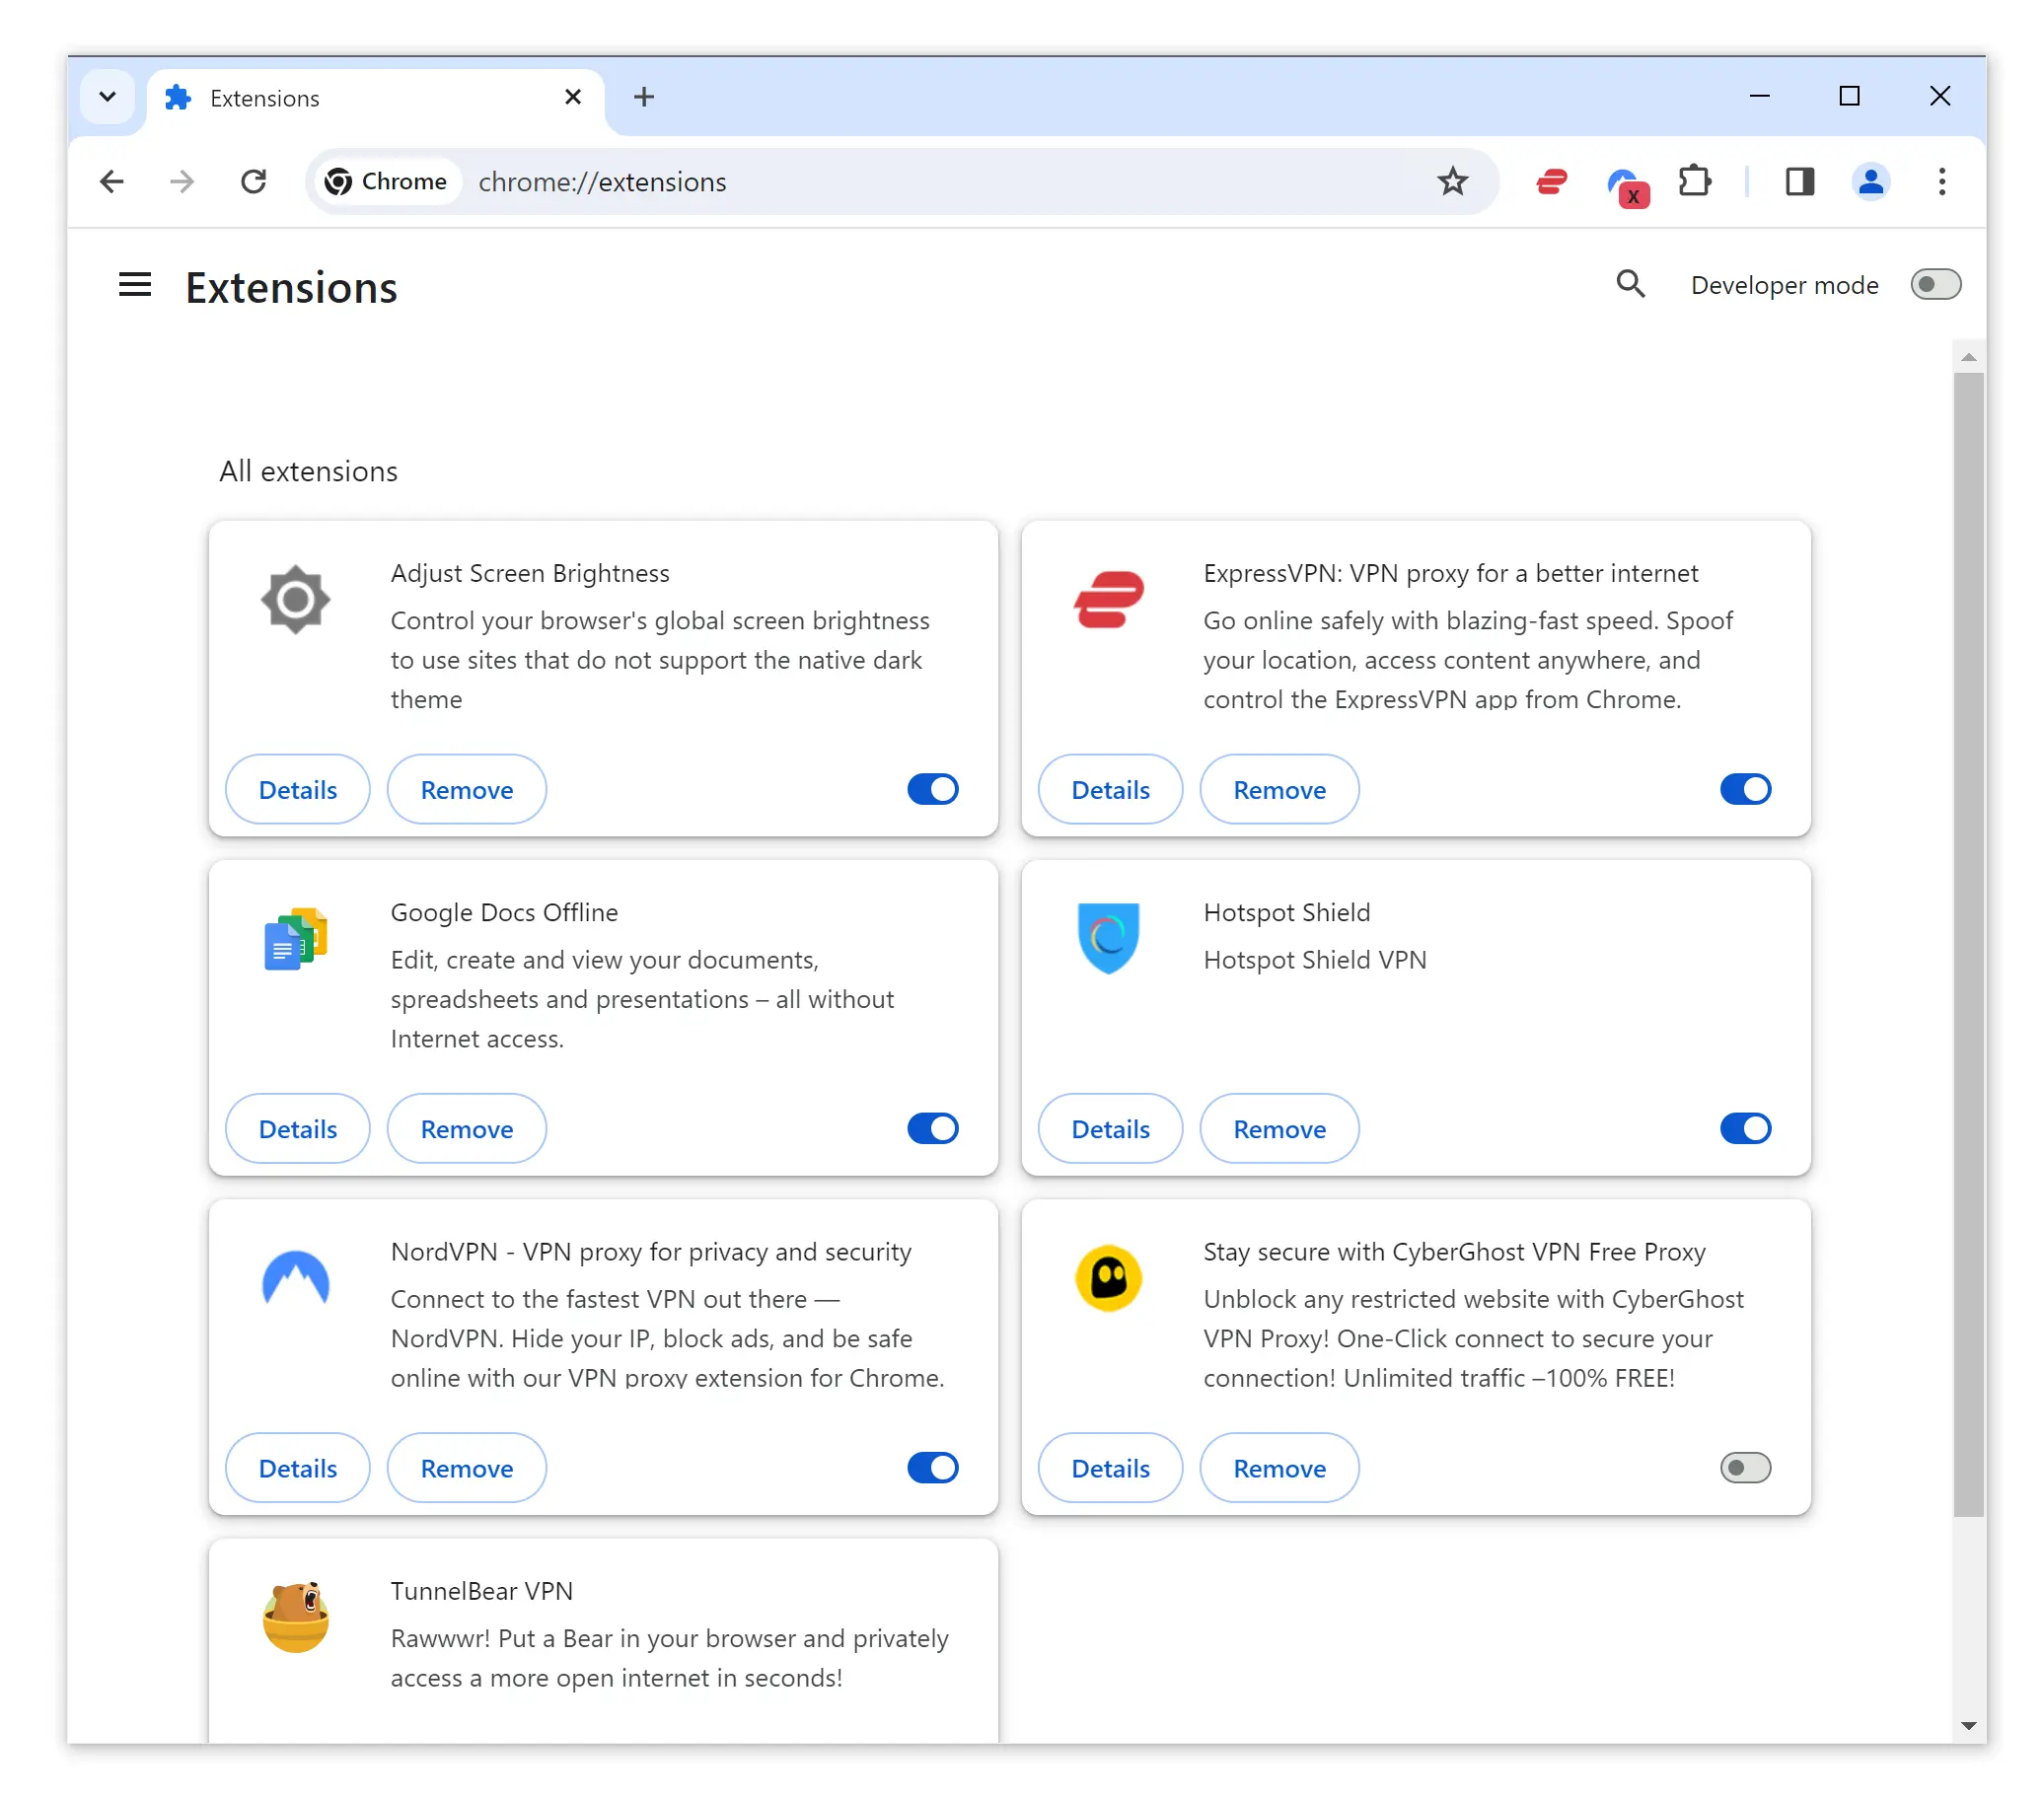
- Go to your chosen VPN provider’s Chrome Web Store listing. You can also usually find the extension on the VPN provider’s website or by searching for it directly.
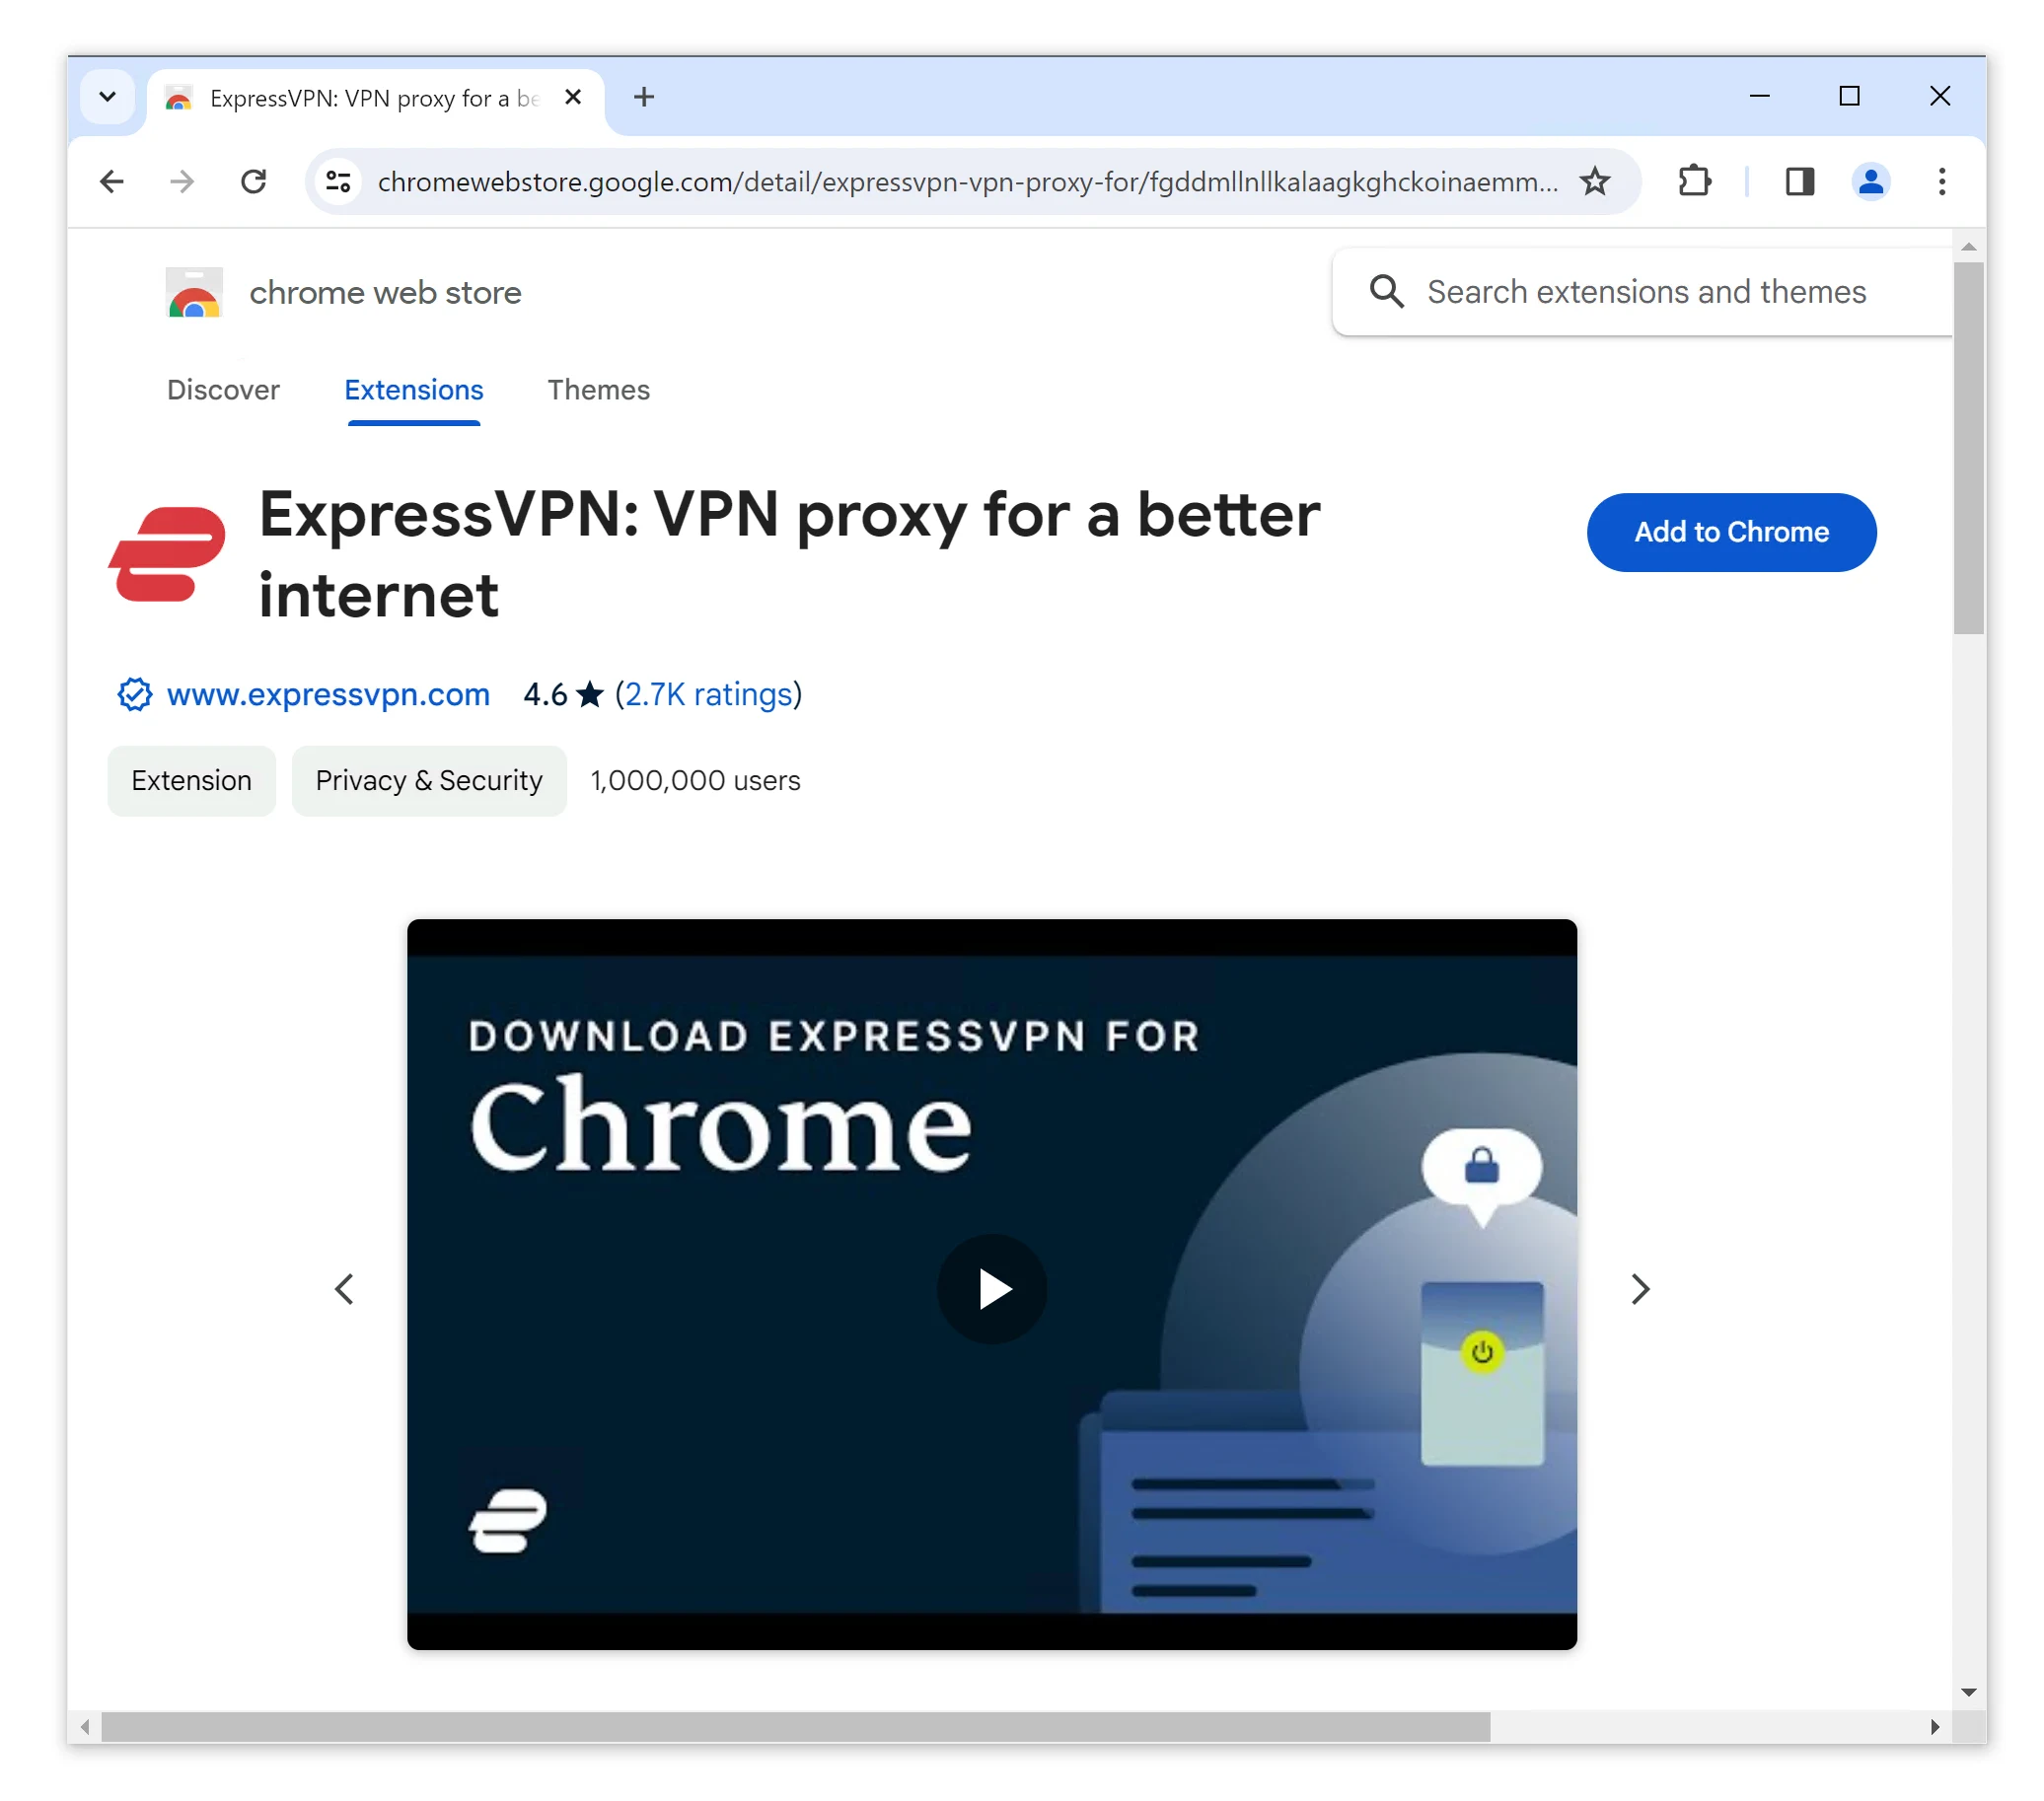
- Click ‘Add to Chrome’.
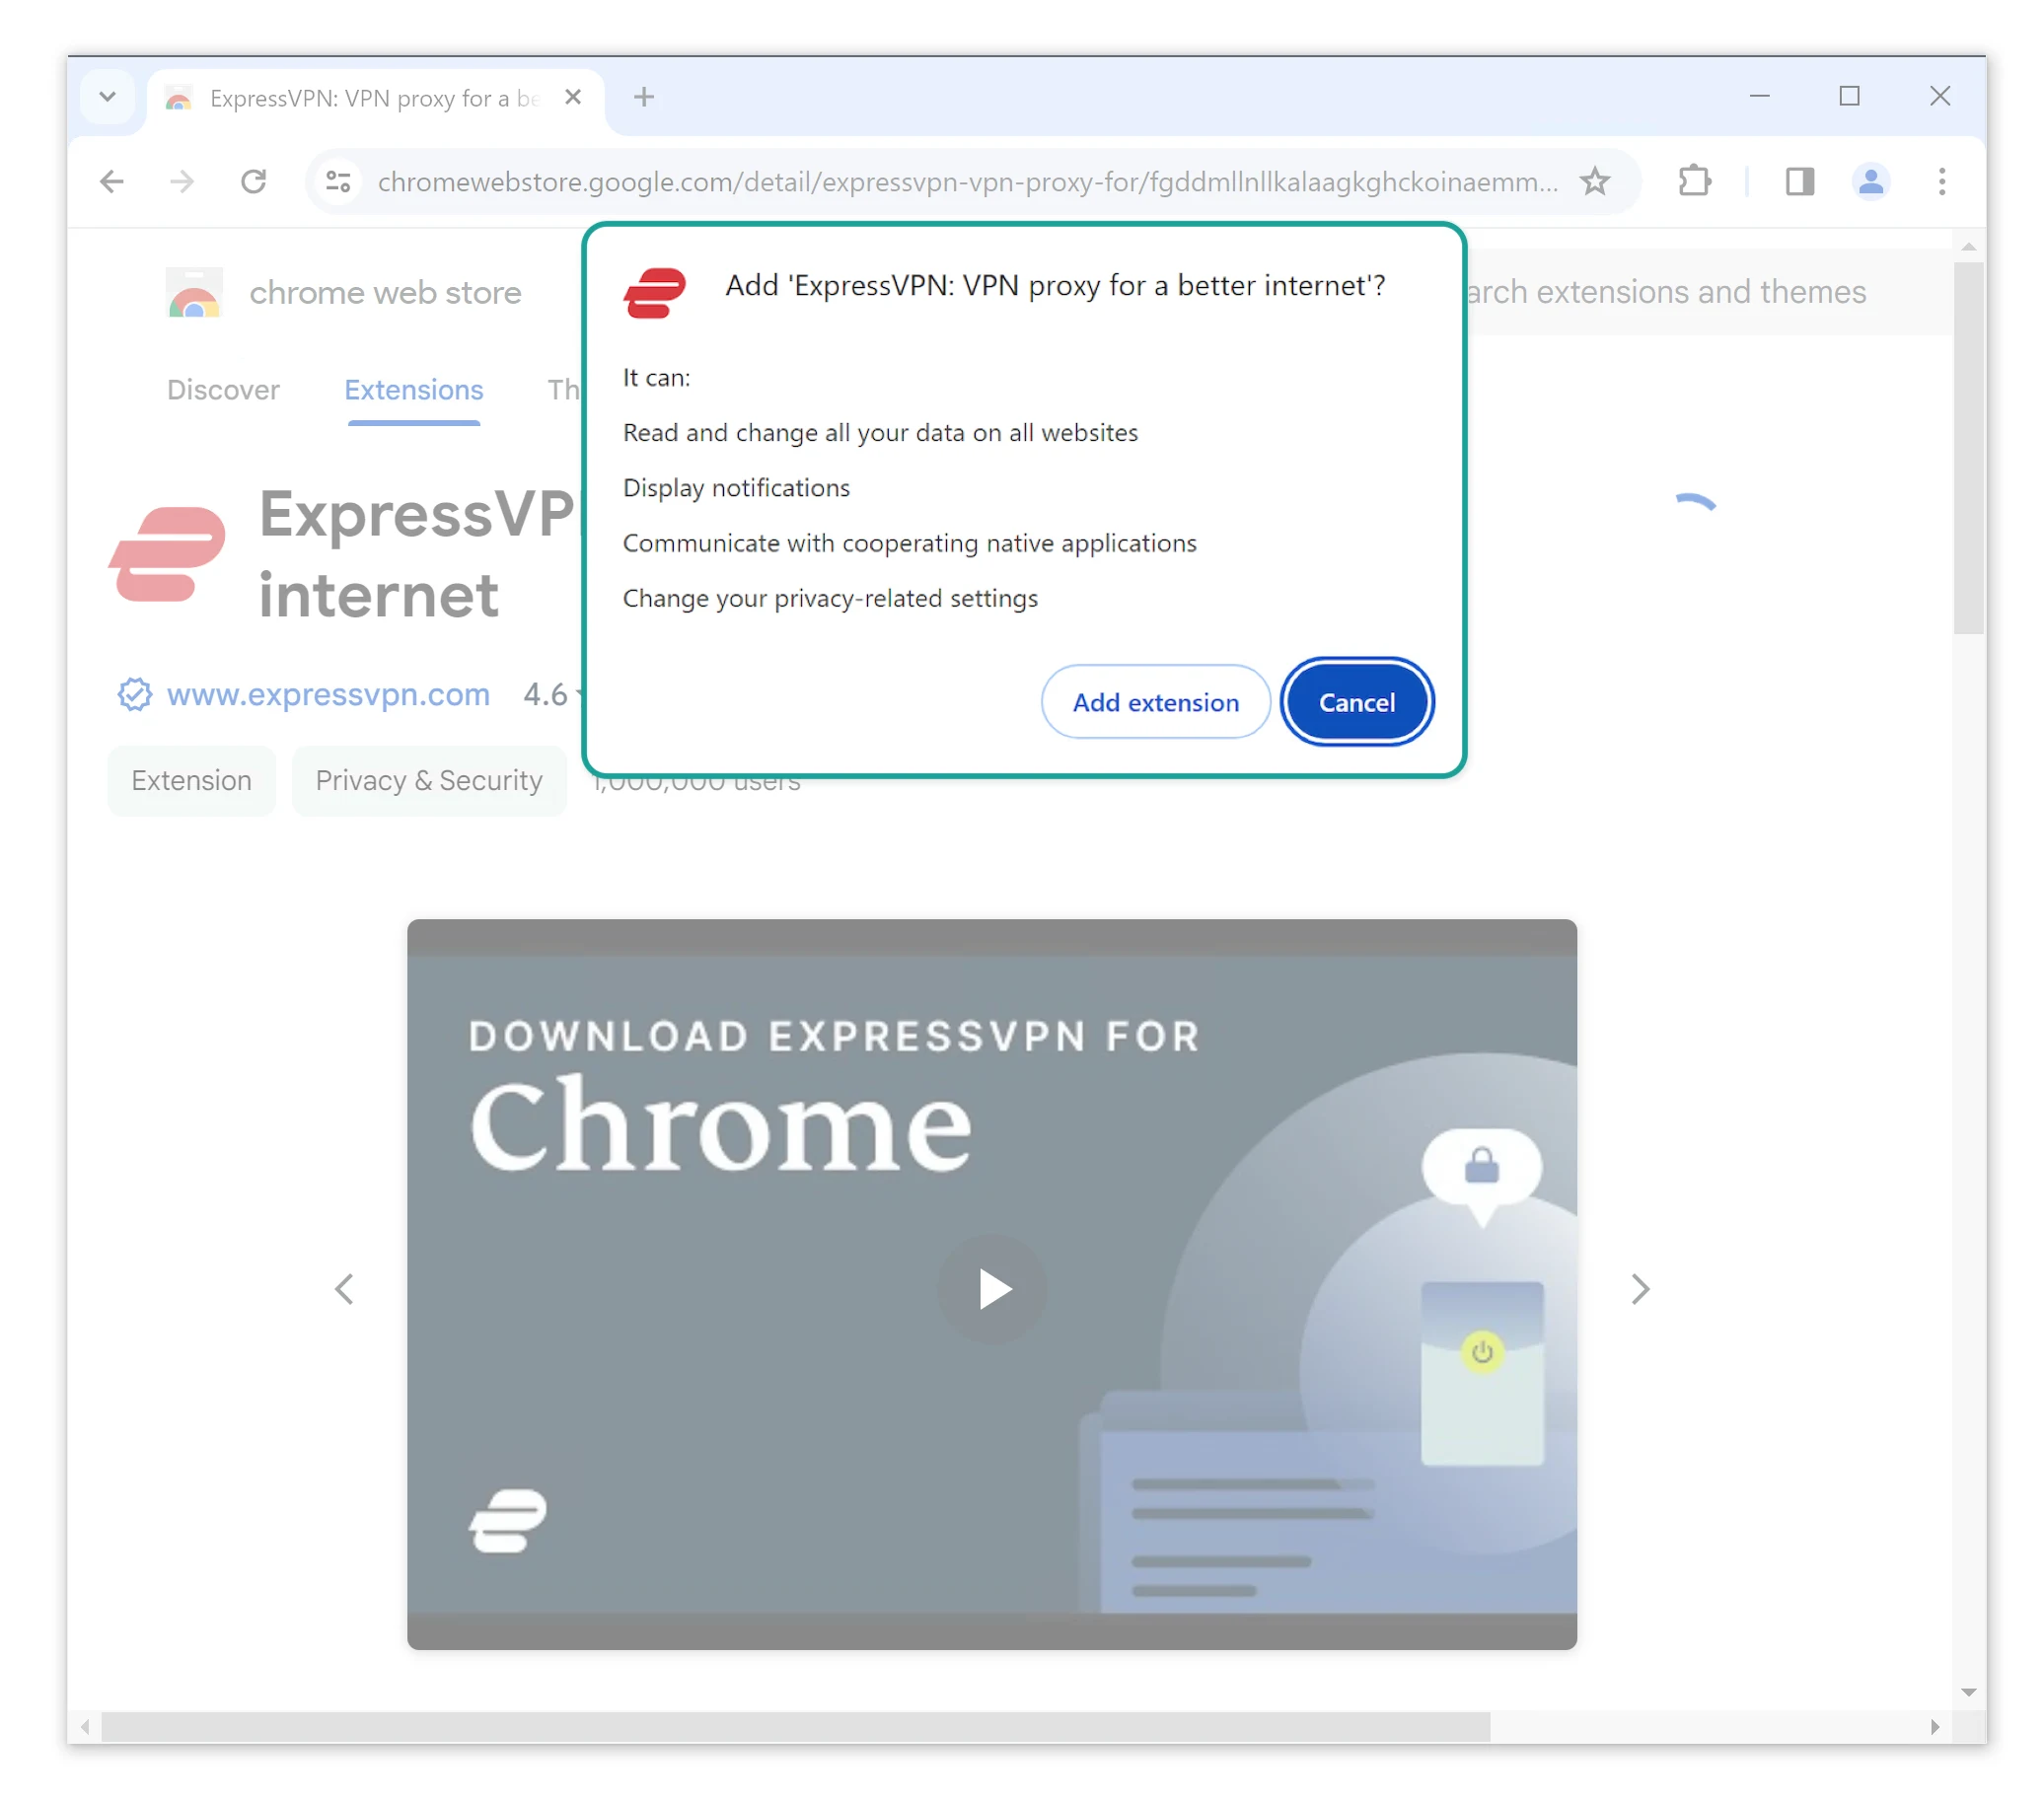
- Click ‘Add extension’ when prompted. This will appear within a dialog box outlining all of the permissions the extension uses.
- Find the VPN extension in your toolbar. Click the VPN’s icon in the top-right corner of your toolbar to access the user interface.
- Go through the setup prompts. We suggest you click ‘Skip‘ for the first option and then ‘No Thanks‘.
- Optimize your settings for privacy and security. Click the hamburger menu > Privacy & Security and ensure Spoof your location and Block WebRTC are both ticked.
- Click the connect button to start the VPN. ExpressVPN’s connect button and background will turn green when it has successfully connected.
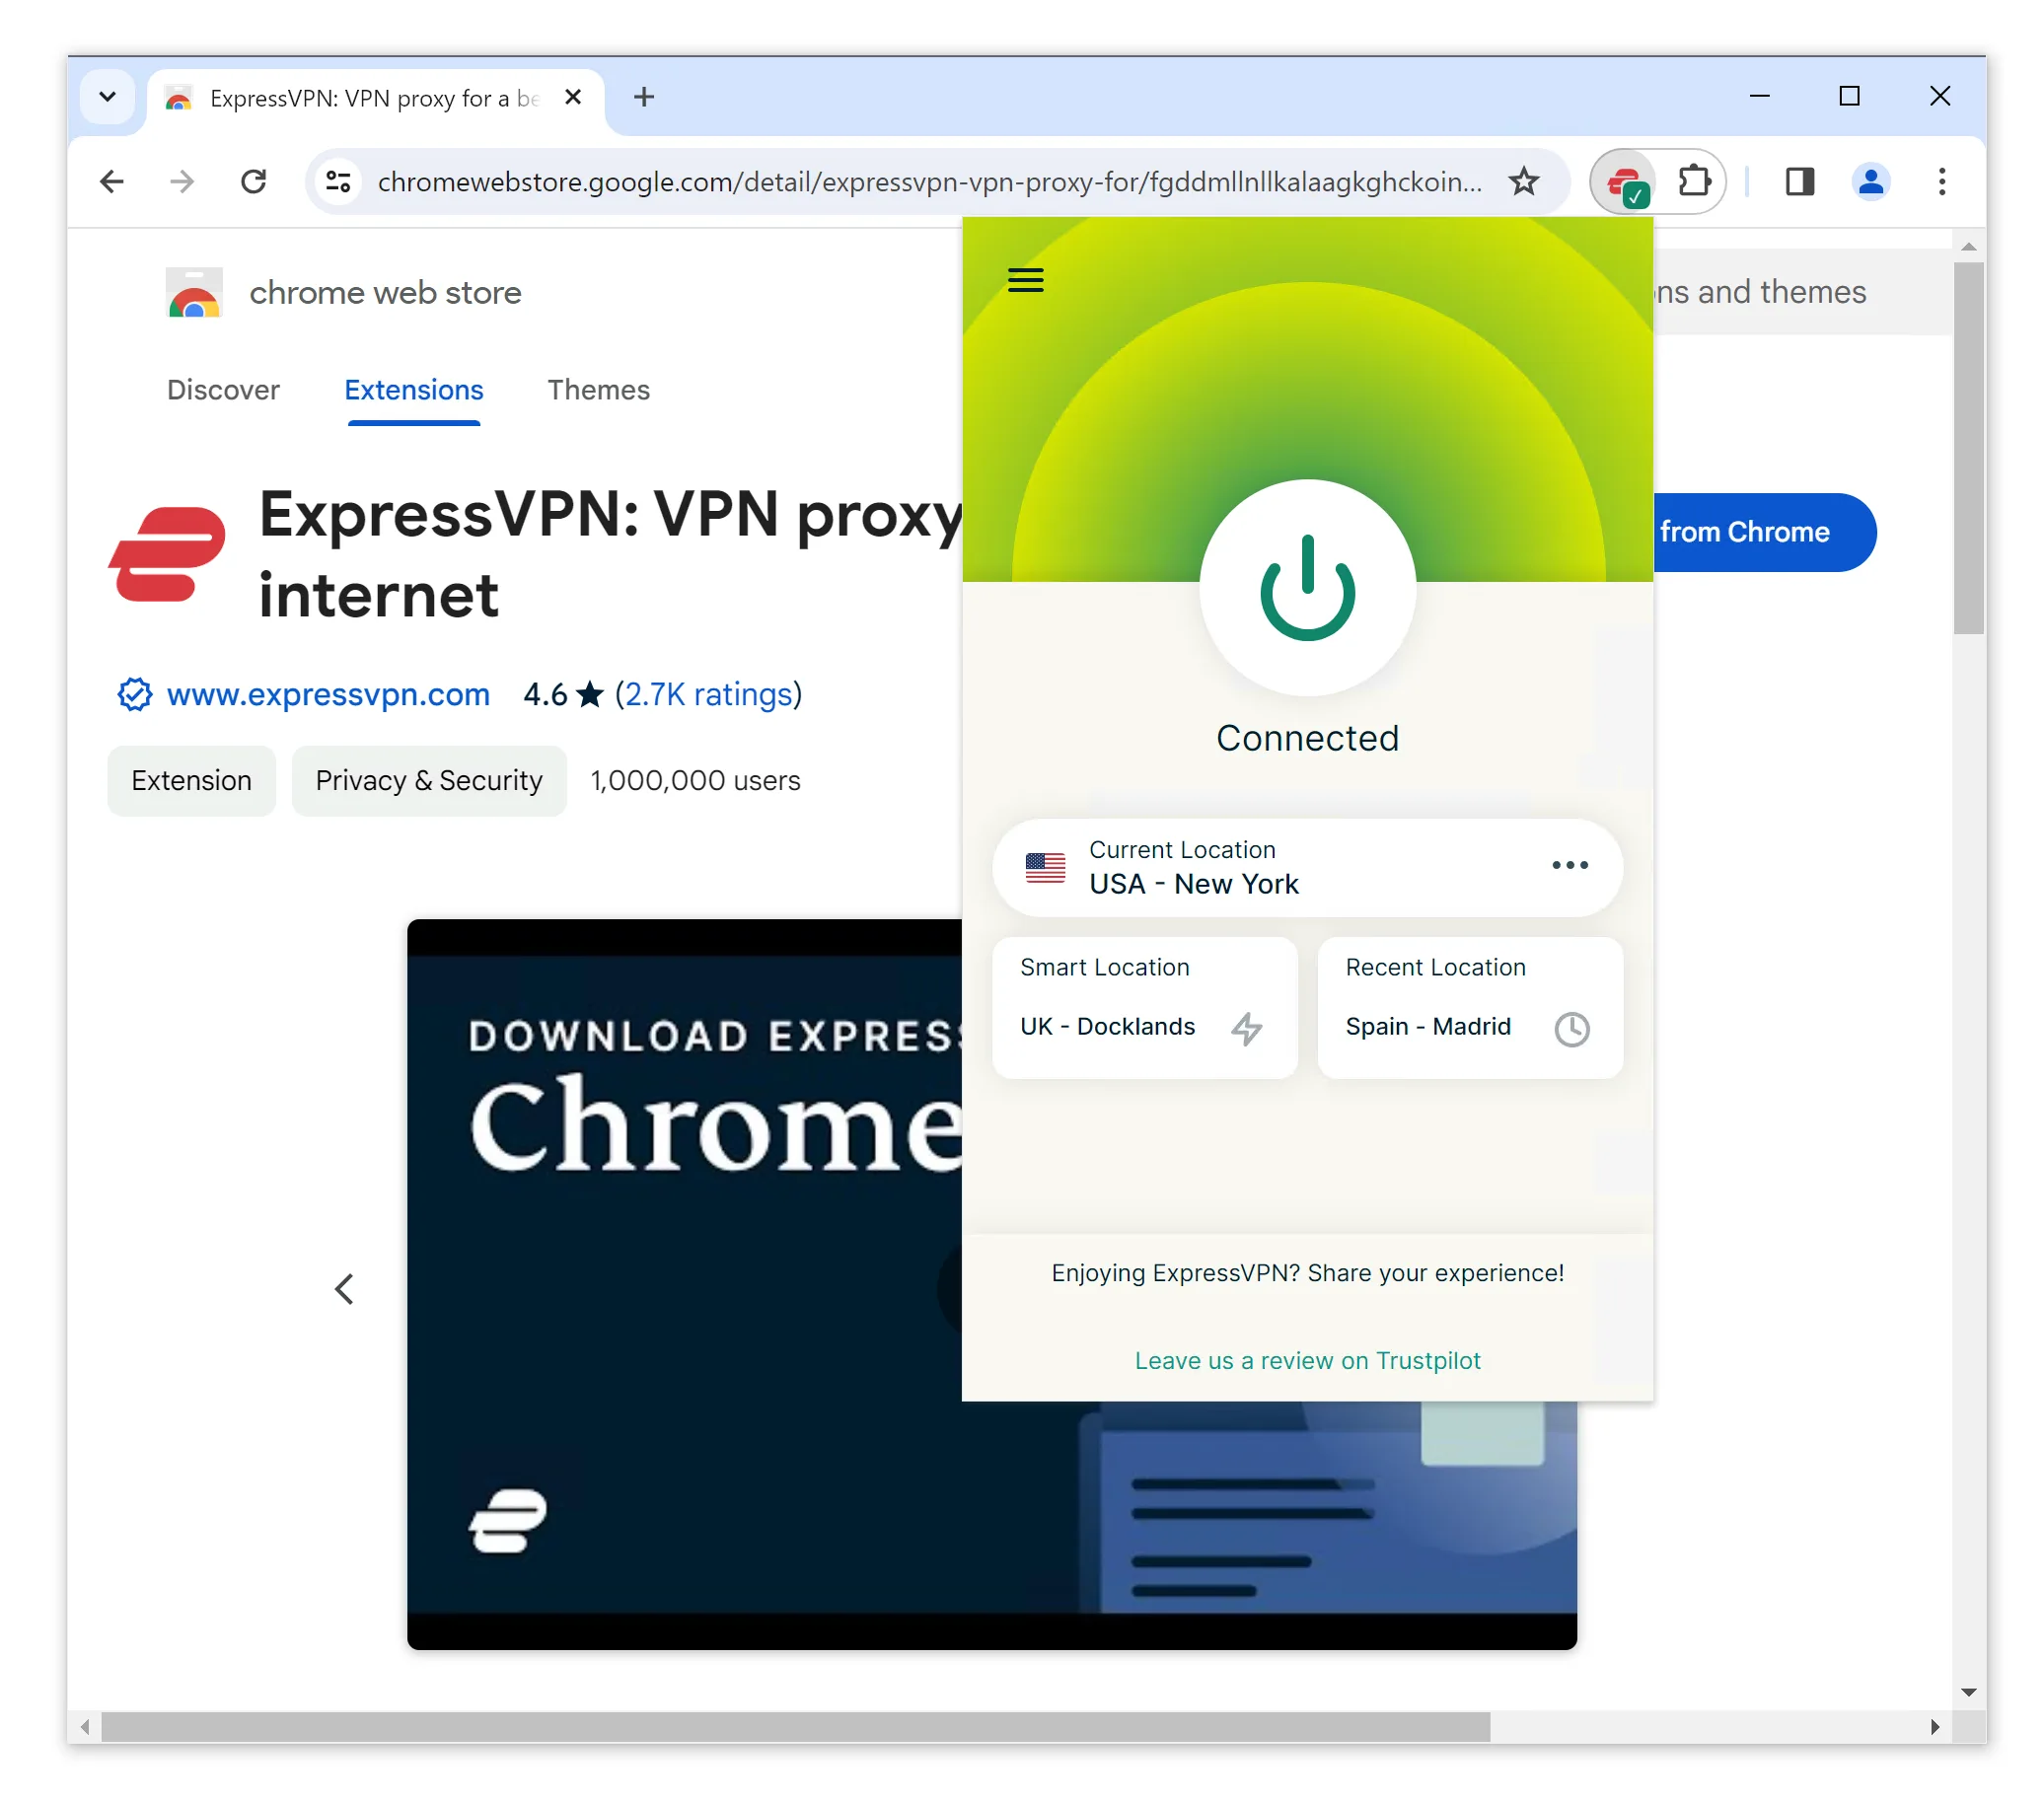
- Unblock geo-restricted websites. You can do this by clicking Current Location and switching to a VPN server in the region you want to access.
Note: Unlike other VPNs, ExpressVPN’s Chrome extension requires its desktop app to run at the same time. As a result, you don’t need to log into the extension since it knows your credentials from the Windows or Mac app.
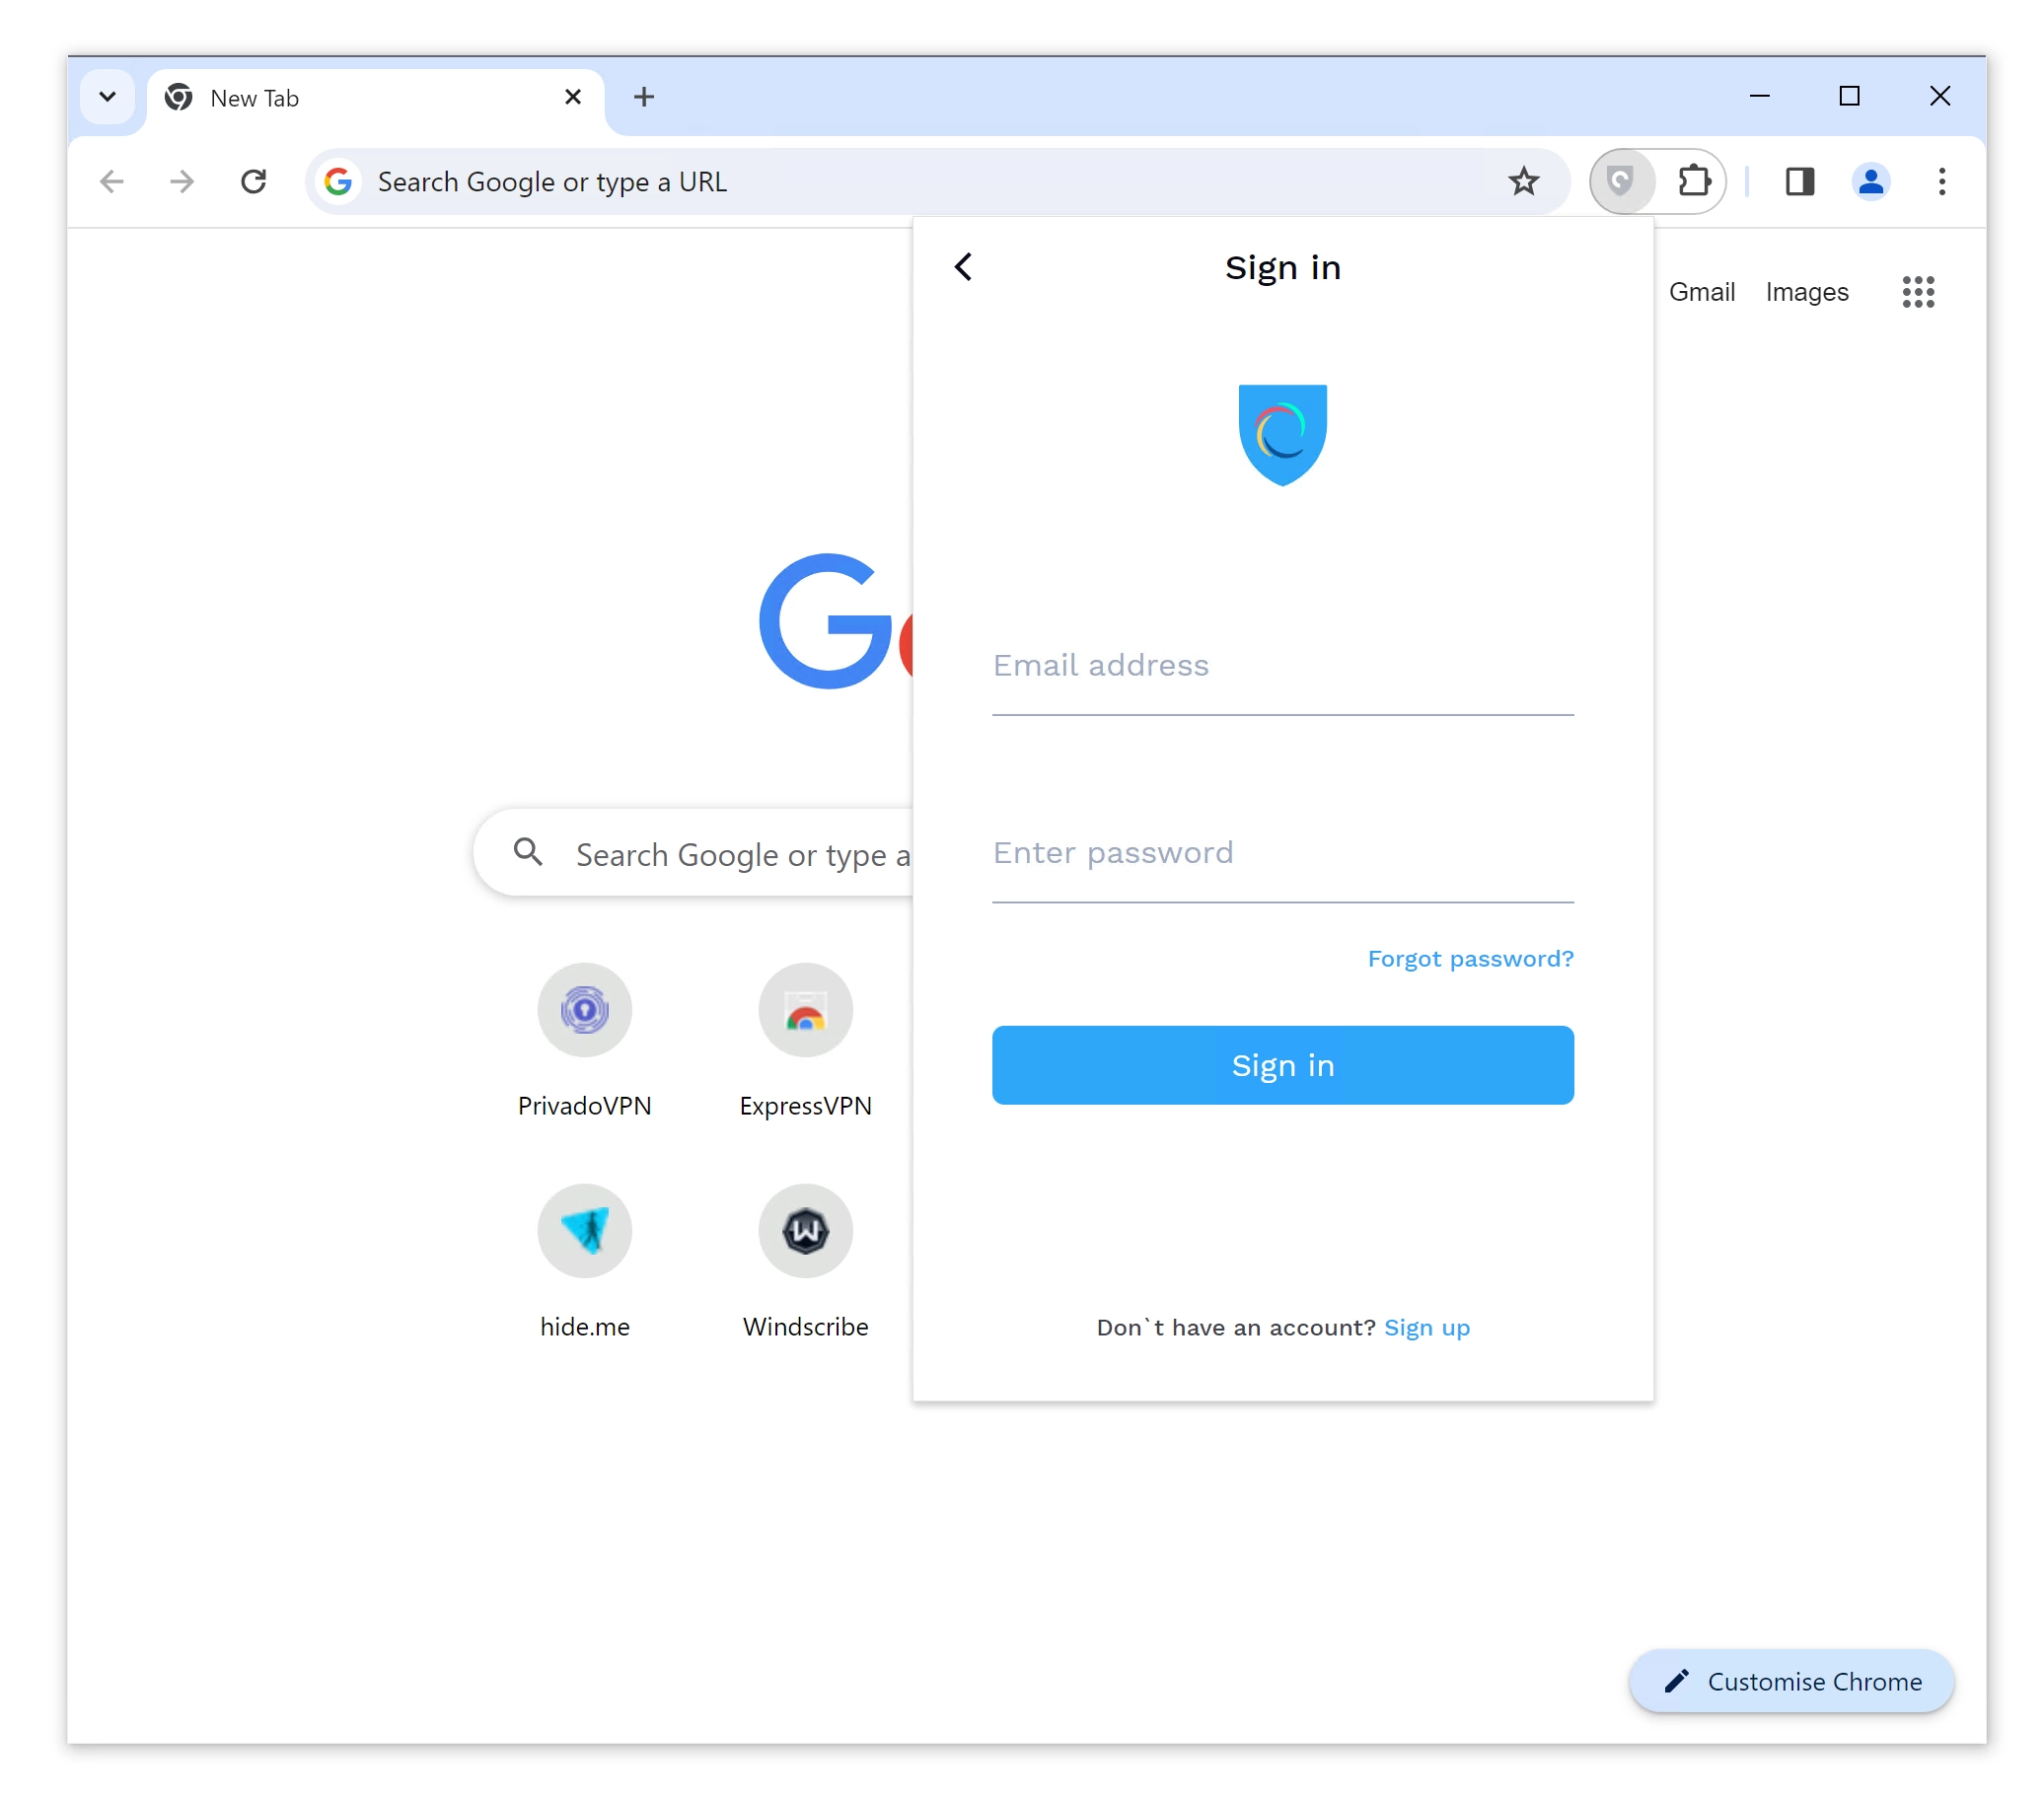
While the above instructions apply to most VPN Chrome extensions, some VPN services may require you to enter your account credentials in order to use their extension. For instance, here’s the login screen on NordVPN’s Chrome extension:
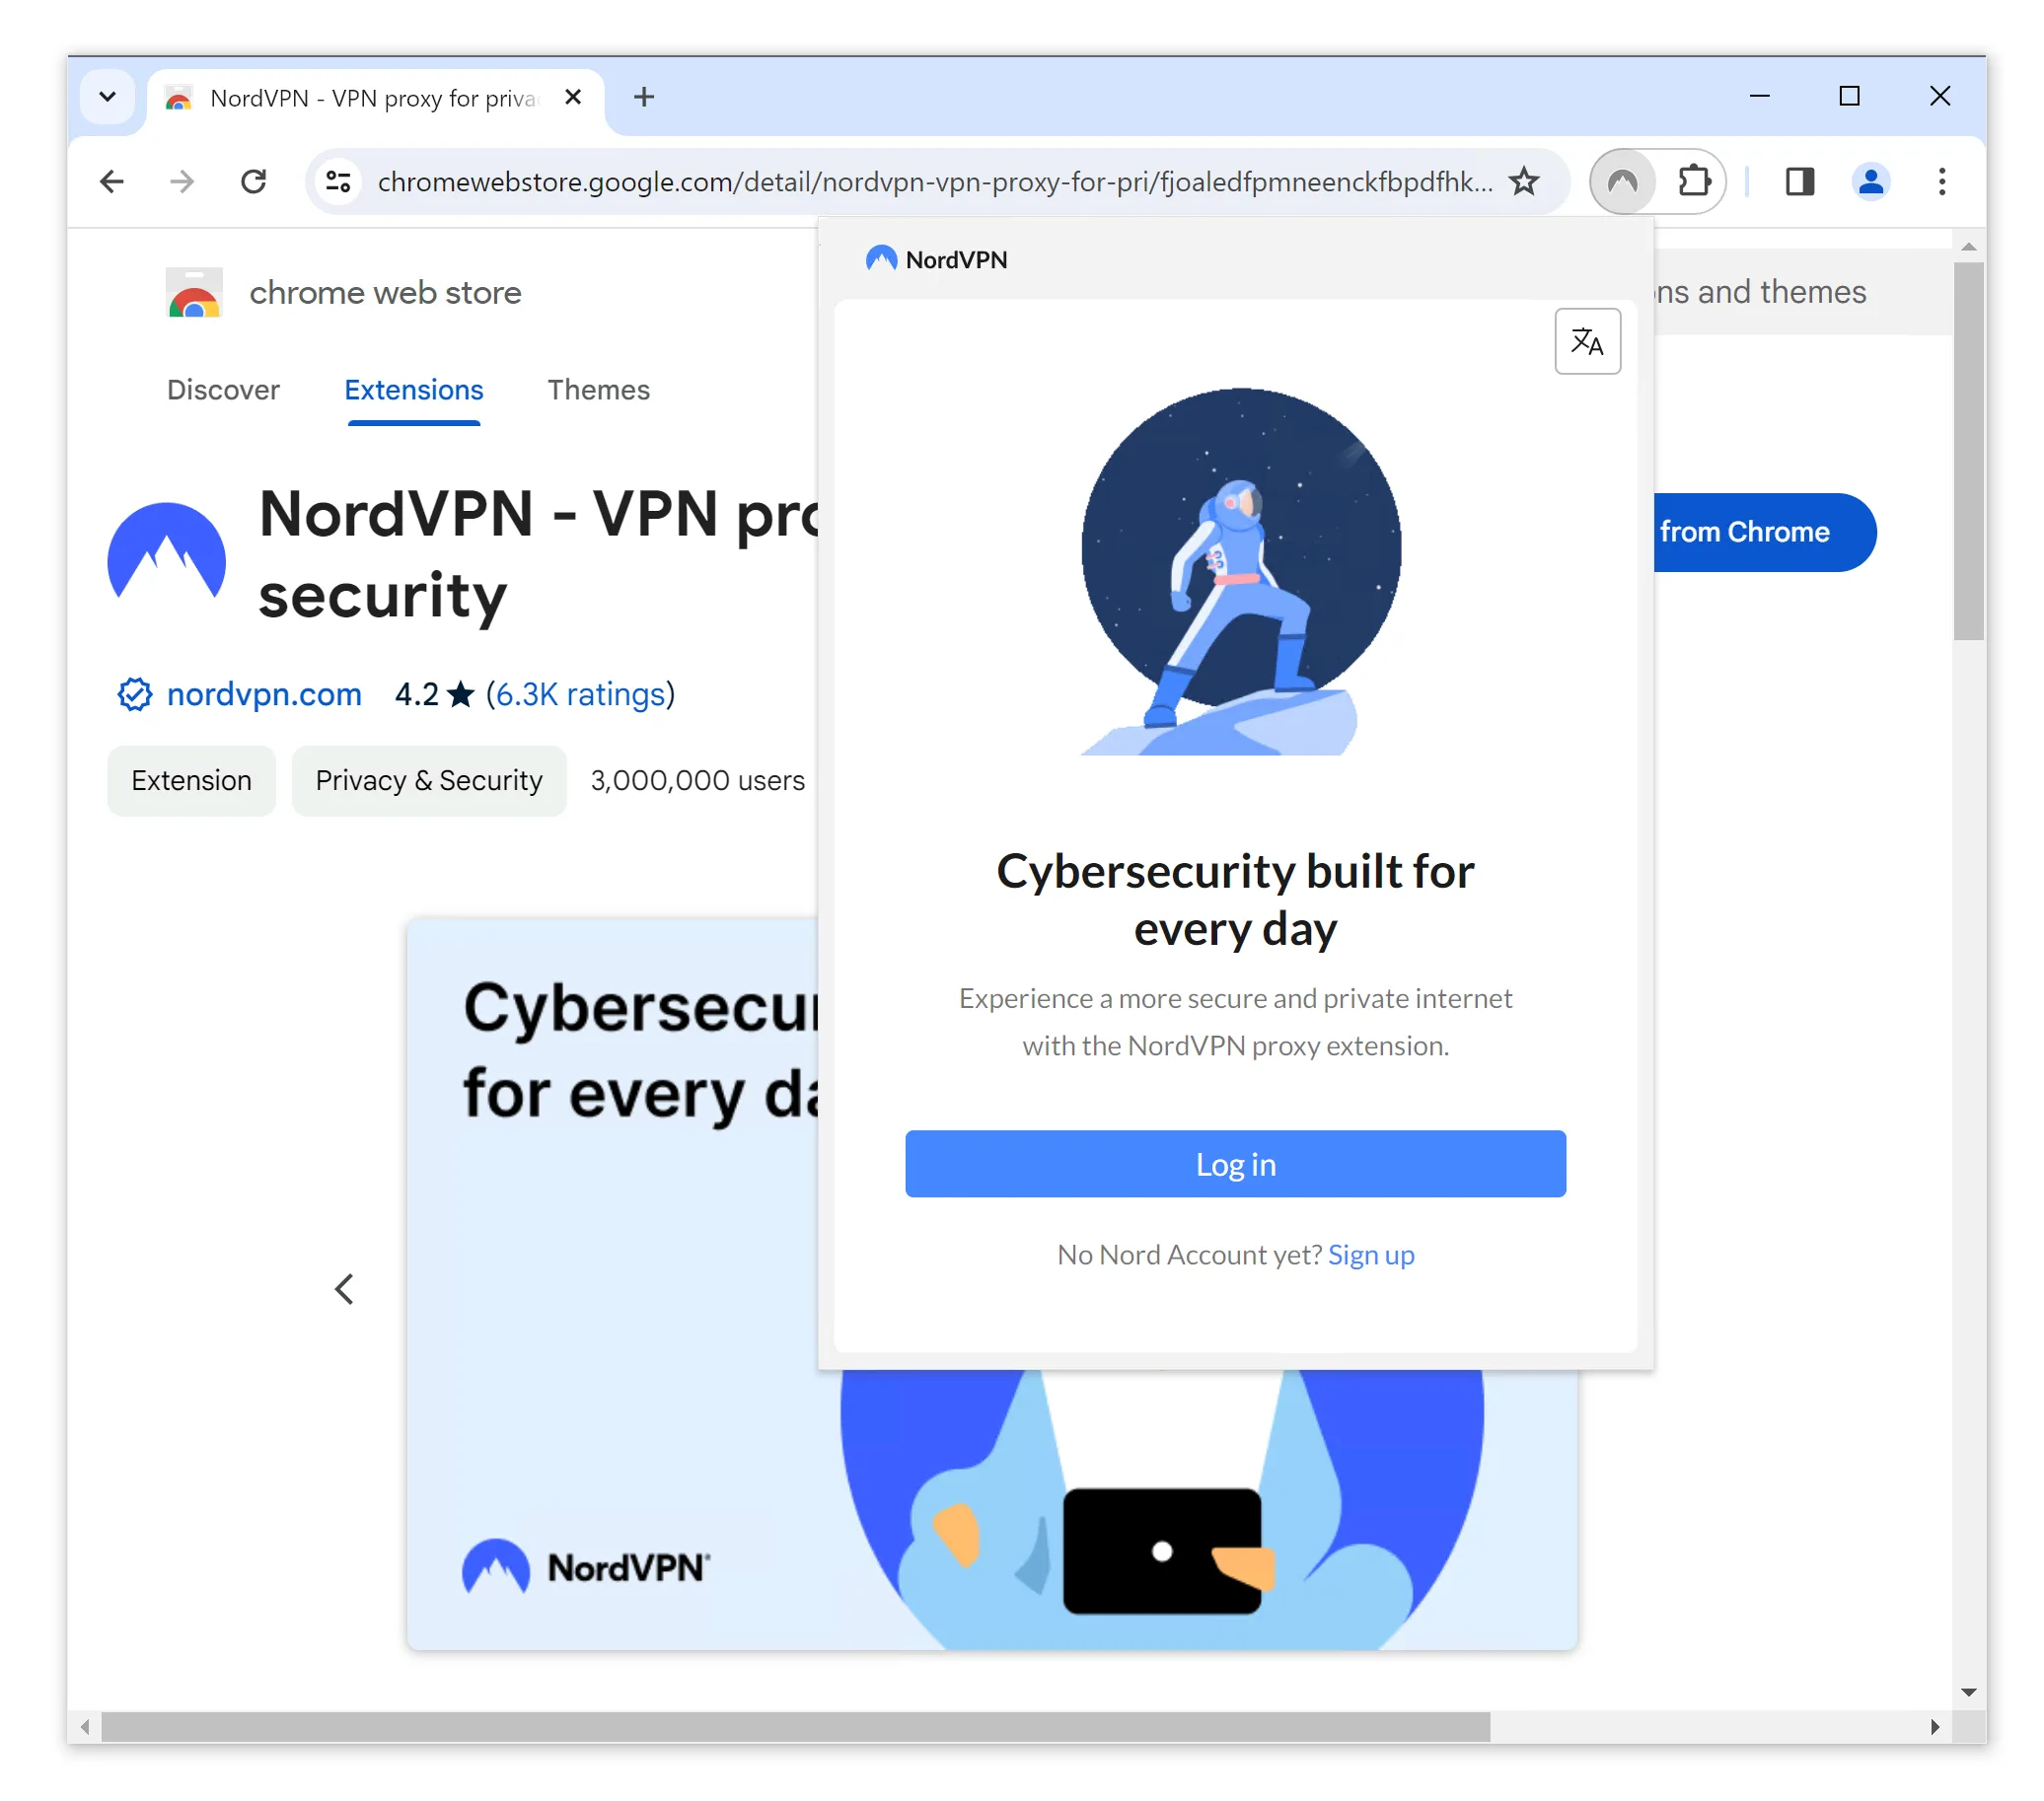
NordVPN requires you to enter your account details.